Setup an Okta Identity Provider
Prerequisites
You need the following in order to proceed with this tutorial:
- Okta developer's account
If you’re experiencing any difficulties, contact us.
Setting up Okta
The steps for setting up Okta are listed below:
Step 1: Create app integrations
-
Under Applications→ click on Create App Integrations, select OIDC - OpenID Connect
-
Select Web Application as the Application Type and click Next
-
Give your app an App Integration Name , it can be any name of your choice.
-
For Grant type, make sure "Client acting on behalf of a user" has Authorization code checked.
-
Under Assignments, select "Allow everyone in your organisation to access" and click Save.
-
Once the web application is created, client ID, client secret and domain are displayed on the next page.
Step 2: Add a user
-
In the left navigation menu, select Directory-> People, and click Add person
-
Enter the user information
-
Select I will set the password to be able to set the password for the user
-
Disable User must change password on first login
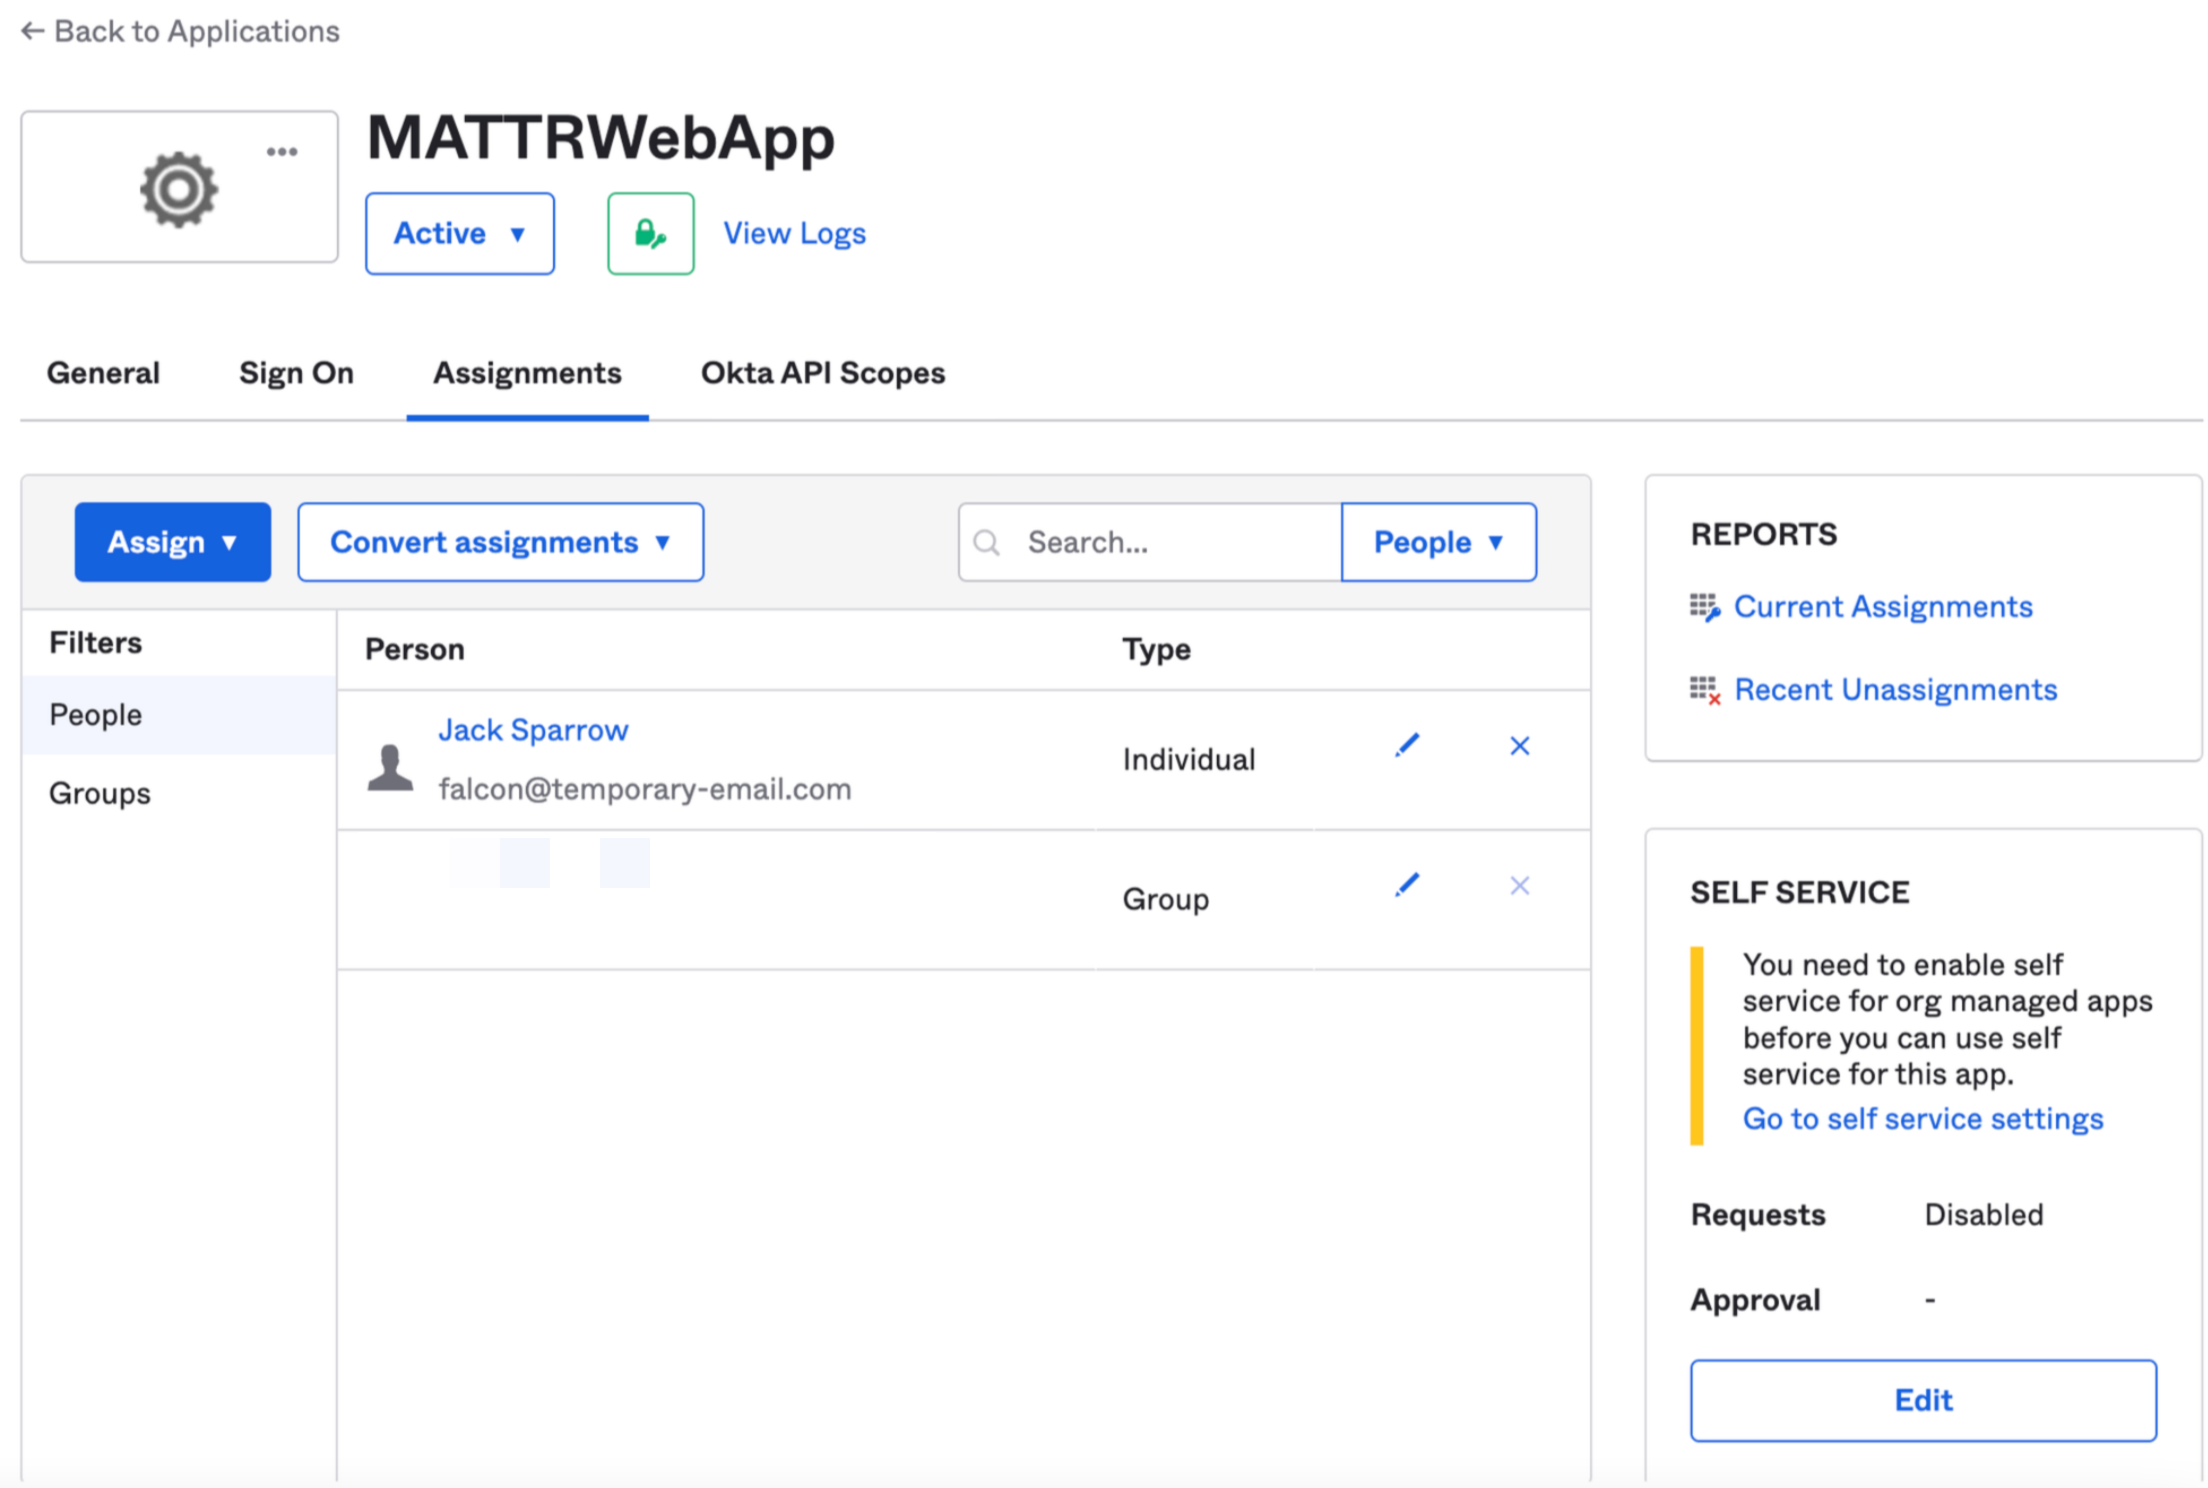
Step 3:
-
In the left navigation menu, select Applications-> Applications, and click My Web App created on Step 1.
-
Under the Assignments tab, add the user that was created on Step 2
What's next?
You can now continue to configure your identity provider in Sovrin.