Configure an OIDC Client
In order to verify a credential using an OpenID Connect Authorization Code Flow, you need to set up an OIDC Client application. This is the client that will engage with your configured OIDC Verifier to inititate the verification workflow.
There is a list of OIDC Client apps, also known as Relying Party Libraries, on the OpenID website. Pick one which you feel comfortable with.
For a hands-on approach to running an OIDC Client in a local development environment go to Set up an OpenID Client App.
Prerequisites
-
Access to Sovrin APIs. If you’re experiencing any difficulties, contact us.
-
Administrator access to an OIDC Client application.
-
The path to your OIDC Client redirect_uri. This can be on localhost or hosted.
-
The
idof an OIDC Verifer setup on your Sovrin tenant.
Request
Make a request of the following structure to create an OIDC Client:
POST https://api.sovrin.one/ext/oidc/v1/verifiers/41458e5a-9092-40b7-9a26-d4eb43c5792f/clients
{
    "name": "Verify_Credential_Demo",
    "redirectUris": [
        "https://localhost:9090/callback"
    ],
    "responseTypes": [
        "code"
    ],
    "grantTypes": [
        "authorization_code"
    ],
    "tokenEndpointAuthMethod": "client_secret_post",
    "idTokenSignedResponseAlg": "ES256",
    "applicationType": "web"
    "logoUri": "https://example.com/logo.png"
}
-
name: Insert a meaningful name for your OIDC Client. -
redirectUris: This array can include a list of URLs. One of the URIs in that list must match the callback URI configured for your OIDC Client for the Authorization Request:-
Must be a valid URL.
-
Must use the HTTPS protocol.
-
Must not be an IP address.
-
Must not include query parameters.
-
For testing, it’s okay to add a localhost uri like
https://localhost:9090/callback
-
-
We will keep the
responseTypes,grantTypes,tokenEndpointAuthMethodandidTokenSignedResponseAlgall at their default values as per the example above. -
logoUri: Insert a publicly available and valid URI to an image that will be displayed above the QR code during verification workflows.
Response
{
    "name": "Verify_Credential_Demo",
    "redirectUris": [
        "https://localhost:9090/callback"
    ],
    "responseTypes": [
        "code"
    ],
    "grantTypes": [
      "authorization_code"
    ],
    "tokenEndpointAuthMethod": "client_secret_post",
    "idTokenSignedResponseAlg": "ES256",
    "applicationType": "web",
    "id": "ukM3NWLFZJFSxh6DN2lg6",
    "secret": "XDW7vuJ2Q6w9uPKUa8djN2Fz03YjKMIaGAQ6REeXhp2LgUfXTvNMgd7orvfrhwYQJAtMksypRVMvdy7MZUTAA",
}
-
id: Make note of your id with this OIDC Client. -
secret: Make note of your secret with this OIDC Client.
Try it out
- Go to your tenant OIDC Well Known metadata config endpoint:
GET https://api.sovrin.one/ext/oidc/v1/verifiers/41458e5a-9092-40b7-9a26-d4eb43c5792f/.well-known/openid-configuration
- Look up the
authorization_endpointvalue:
{
    "authorization_endpoint": "https://api.sovrin.one/ext/oidc/v1/verifiers/41458e5a-9092-40b7-9a26-d4eb43c5792f/authorize",
}
- Construct a request of the following structure:
https://api.sovrin.one/ext/oidc/v1/verifiers/41458e5a-9092-40b7-9a26-d4eb43c5792f/authorize
?response_type=code
&client_id=ukM3NWLFZJFSxh6DN2lg6
&redirect_uri=https://localhost:9090/callback
&scope=openid+profile
&state=abc
&nonce=123
All OIDC requests must contain scope value of openid as the first scope. For the purpose of this test, state and nonce can be placeholder values, however normally your OIDC Client would generate these automatically.
Copy the whole request with all the query parameters and paste it into your browser. This will initiate an OIDC Authorization Code Flow and generate a QR code that can be used to point a device at your tenant:
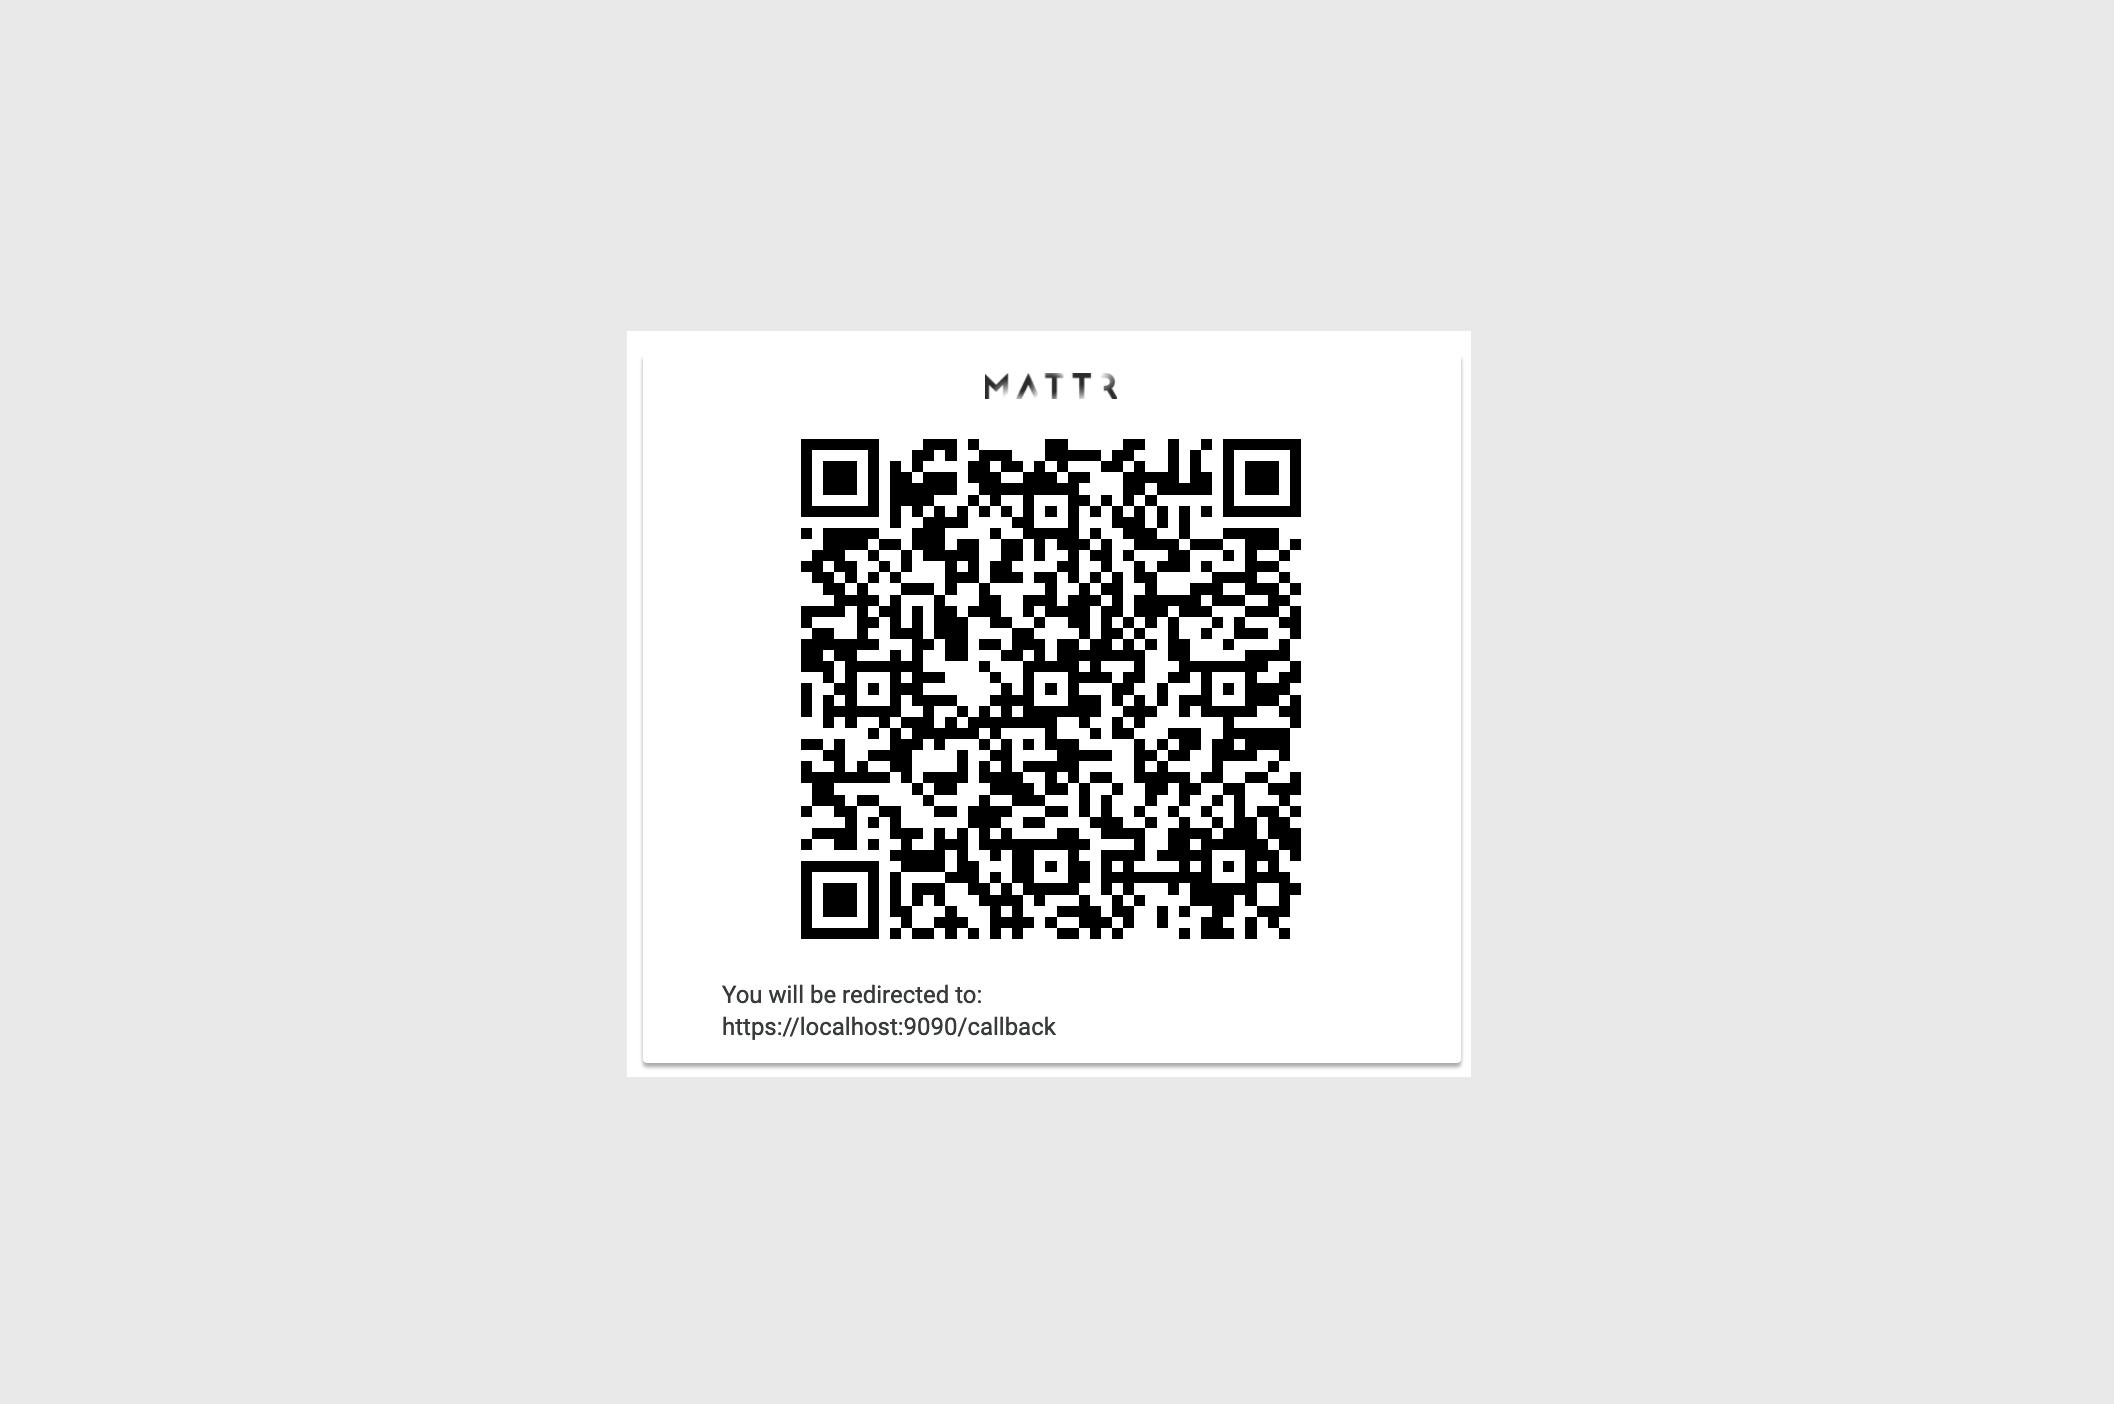
On mobile devices the QR code is collapsed by default and a deeplink is shown.
What's next?
Once an OIDC Client is configured, you can manually create a presentation request.